 |
| Time for another entry |
I know its been a while but I finally got back to the Deadzone tiles from last year. Ryan Cruz requested that I get back to this so here I am. Lets do it.
Part 1
Part 2
 |
| Secret Weapon is a well loved sponsor of the NOVA Open so I figured I would be appropriate here. |
Painting the Dead Zone Tiles
Part 1 Prep
At this stage I get the tile to a place where it can be
used in a pinch.
Paints used
Folkart Black mixed with “Martha Stewart” Matt brush on
finish
Apple Barrel Pewter Grey
Americana Slate Grey
Apple Barrel Granite Gray
Prime Black- (It was too cold to spray paint so I used a
mix of Folkart Black mixed with “Martha Stewart” Matt brush on finish.) I then
used my Anthem 155 Airbrush with a medium needle to apply shades of Grey over
the entire piece. Pewter Grey followed by Slate Grey. I them Dusted a light
drybrush of Granite Gray over the whole thing.
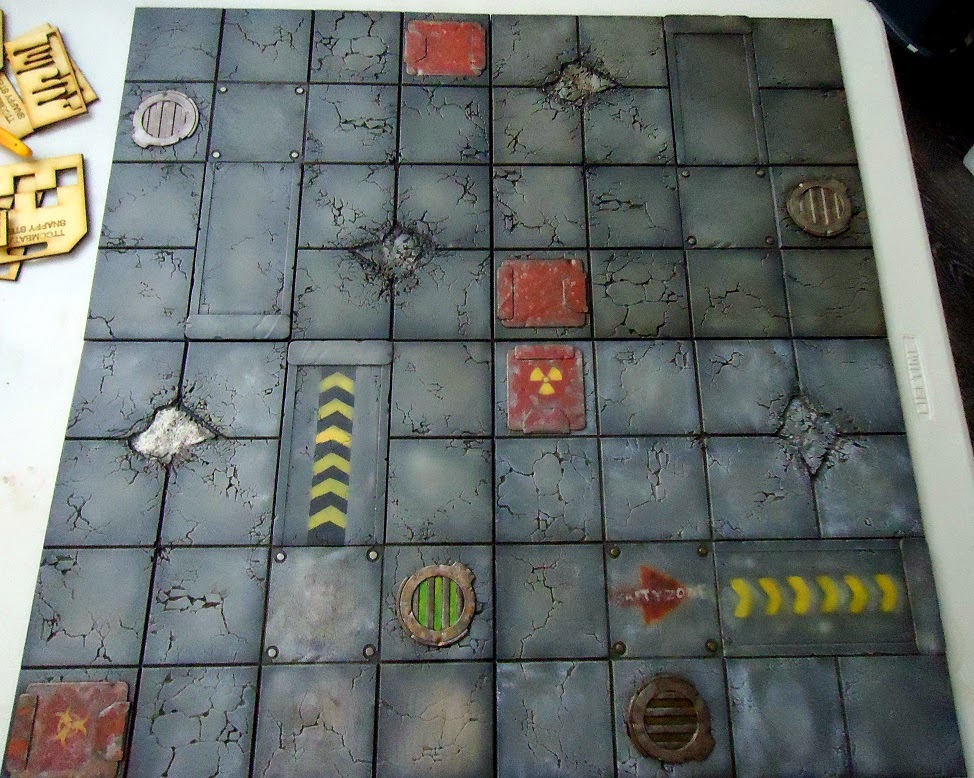
That Makes the Base Tiles displayed before.
Part 2 Details
At this stage the idea is to apply the detail work that
gives the piece character.
Paints used
Citadel Warplock Bronze
Citadel Leadbelcher
Secret Weapon Armor Wash
Citadel Mephiston Red
Winsor & Newton Winton Oil Color 24 Ivory Black
Winsor & Newton Winton Oil Color 3 Burnt Umber
Paint Thinner (I use Odorless- Not shown)
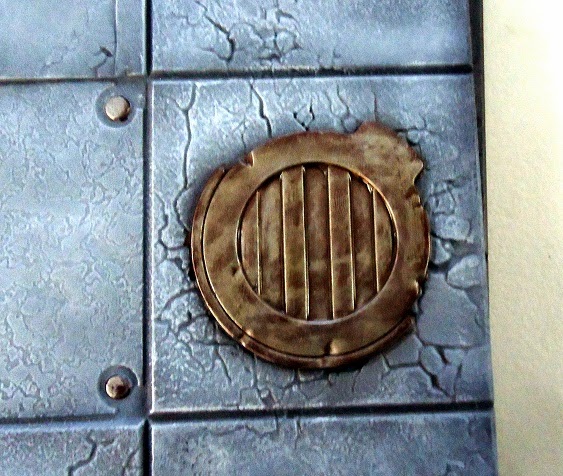
For the Metal I used watered down Warplock Bronze as a
base.
I then brushed on the Leadbelcher making sure to let some of the bronze
shows through.
Once dry I washed on
watered down Armor wash.
Once it is dry stipple Red on the hatch making sure it
looks spotty then wash with a thin coat of Armor wash.
Now for the fun (and Messy) Part
Mix equal parts Ivory Black and Burnt Umber with enough
paint Thinner to make a wash. Now paint the entire Tile (leaving the metal
parts untouched.)
Stay with me on this it gets better.
Let the oil paint dry for 30 minutes or so (I used a fan)
then take a rag and rub off the excess oil paint. This will leave a neat
affect.
 |
| Drying time |
 |
| Partial Rub to show effect |
Once done you should let the tile(s) dry for a day or so.
 |
| Oil Paint removed |
 |
| Side by side with original Tiles |
Next Time I will go into final base highlights and details as well as a surprise that will change the boards look
Later
RGH


Awesome work!!! I've used oil washes before but not to that extent. Great step-by-step and it's greatly appreciated!
ReplyDeleteWait till you see Part 4 :)
ReplyDeleteYou sir have just earned a subscriber! My interest is piqued...
Delete