
Part 3. Table Production
With Prototypes out of the way and a basic design concept in place, it was time to start building.
Utilizing talent from the NOVA Open Volunteer pool, I was able to get 5 nearly perfect 2” thick 2’ X 2’ square tiles and one 2’X 2’ tile that was slightly warped which I used as the prototype from my last post. The 5 squares became the basis for the table. For the remaining spot I purchased two 1” thick 2’ X 2’ foam tiles. These became the inset water feature tile. [More on that later]
Previous Posts: Part 1, Part 2
Eldar Curves
The very first thing I did was go around the outer edge of each 2” thick tile with black gorilla tape. This was to both protect the edges and create an anchor for the Velcro to adhere to. Once done, I attached Velcro strips on the outer connection points to keep the tiles from wiggling around if bumped. I then marked each tile with a number, so I wouldn’t mix them up during production.


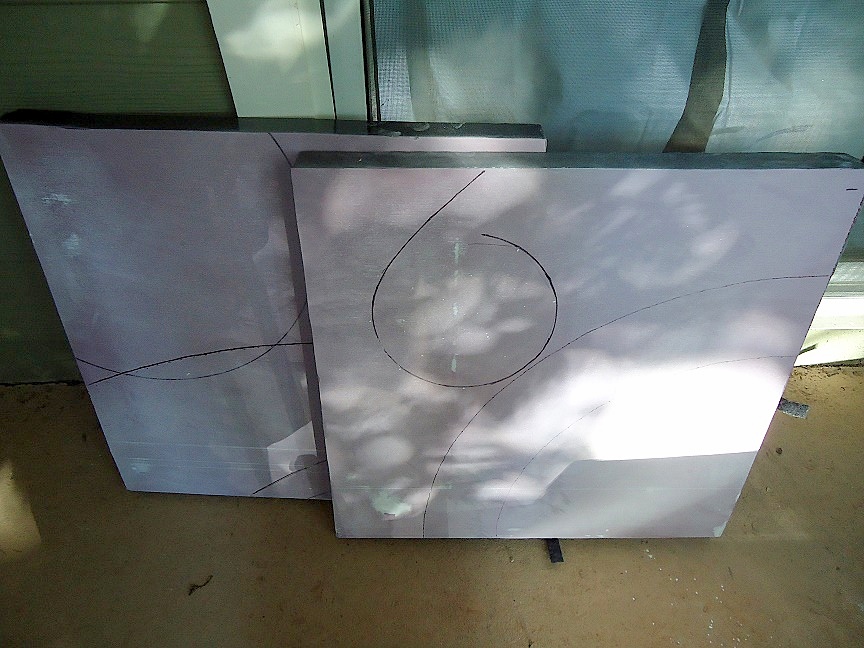
She painstakingly moved the tape measure along a curve, making a small hash mark every few inches, then connecting the dots. These marks can still be seen on the first tile, so you’ll always know where the hill goes.
This method had to be repeated on the foam that was used for the hills themselves. [More about cutting out the hills later]


Once the lines were marked we used a foam cutting tool to burn the lines into the foam. I found that my Wife has a steadier hand at this than I do, so I pawned all this off on her. When you see the finished table, you’ll understand what a monumental task this was. (Love you, honey!)
Residue collected on the metal bar as the tool burned into the foam. This had to be periodically sanded off. We discovered that it was helpful to cut a guideline with a knife before burning with the tool, to help steady the tool into a groove. Also, it doesn’t like to cut through paint. We missed a small spot and tried to burn the groove after it was primed. It didn’t work. I had to cut that out with the knife.


The Pool of Tears
Using an oval shaped bowl as a guide, I marked out the pool. The Wife then took the wire cutter and a sharp knife to cut out the oval in one of the 1” thick tiles. You’ll note that she was only able to keep it smooth for about half an inch down. And it wasn’t like she could flip it over and work from the other direction, since we couldn’t be sure to line the pool up correctly from the back. In the end, she was dissatisfied with the result, but I was impressed. (And glad that I didn’t have to do it.) I paved the bottom of the pool (See below,) so the places where she pulled out a little too much pink foam can’t be seen anyway.


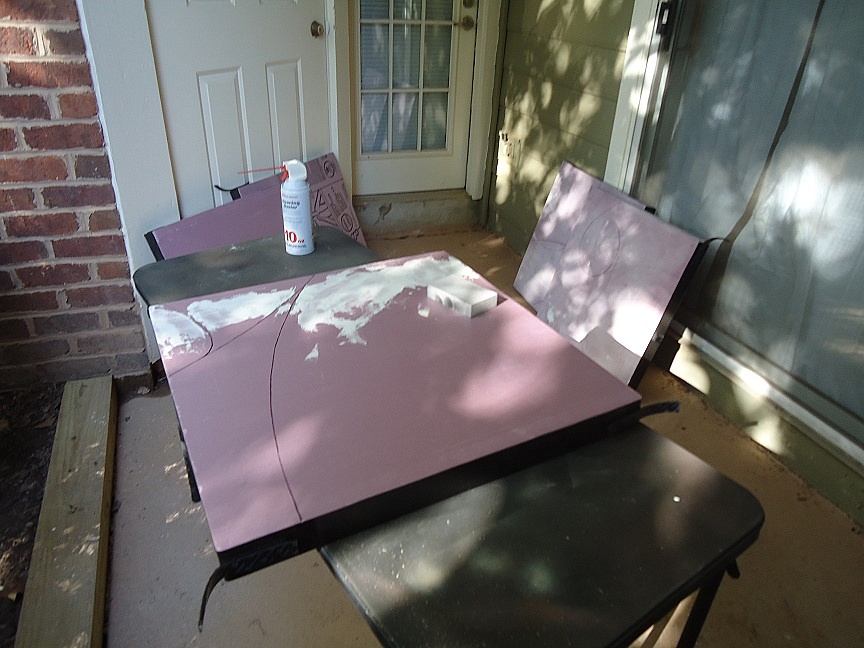
Prepping the table for painting
Now for the messy bit. There were some divots, scuffs, and lines on the boards that would wreck the final product, so I decided that they had to go. More spackle! I went over each tile with spackle, filling in the imperfections as best I could, then allowed the parts to dry overnight. (And I thought this project was going to be quick.)


 |
| They look like they are covered in bird droppings |


Stay tuned for the Part 4, where I discuss the production of the terrain pieces. And check out what is happening over at the Rogue General Hunter for more on the 11' Star Destroyer!- Here (bottom of post)
Note: “This blog post was co-written by my Wife. (Can you tell?)”
RGH
Post faster! I am really interested in the painting phase of this. :)
ReplyDeletePainting posts start soon. I have a request to focus on the construction of the laser cut MDF terrain and I figured I would roll it all into a terrain building post. then with everything built I can dive into painting full swing.
ReplyDelete